The Recipe Critic |
| Chocolate Buttercream Frosting Posted: 30 Aug 2021 05:00 AM PDT 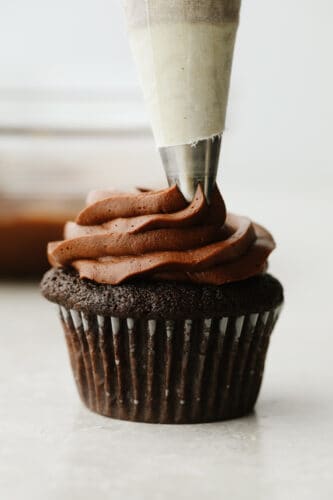 Chocolate buttercream frosting is creamy, smooth, rich, and mouthwatering! The chocolate flavor is absolutely incredible and you will want to add it to every single treat that you bake up this fall! Thick and silky, this rich frosting simply melts in your mouth. This chocolate buttercream will satisfy your chocolate cravings and leave you wanting to try more! So if you are a chocolate lover like me, try out these other chocolate recipes like Double Chocolate Zucchini Brownies, No-Bake Chocolate Pie, and Chocolate Truffles!  Homemade Chocolate Buttercream FrostingI knew that when I wanted to lick this bowl clean because this chocolate buttercream was so good that I just couldn’t keep this recipe a secret anymore! It is that good! Like, you will want to eat it plain with a spoon good. And maybe you do! No judgment here! It is wonderfully creamy and if you want to take it to the next level, try it out on these chocolate cupcakes. Not only does this frosting taste like heaven, but it also looks absolutely incredible piped into that beautiful swirl onto your cupcake. A thick, creamy layer of frosting is exactly what takes any cupcake to the next level! If you are familiar with buttercream frosting then you know that it is fast and simple! It can be combined with literally any type of cake. That’s what makes it an excellent go-to! Whether I am baking cupcakes or cake, it has become our most requested topping for any birthday cake in our house. This recipe will make enough for about 24 cupcakes or 1 sheet cake so your options are totally open! In fact, because I know that you will be using this SO often, I have included below some ways that you can make this ahead and store it! So not only do you now have the secret recipe to chocolate heaven, but this tried and true favorite that you can make ahead will make your life a little bit easier. And I know that we all want that! Chocolate Buttercream IngredientsButtercream frosting is something that is easy to make and simple to love! Most of the ingredients you will already have around in your kitchen so there is no excuse to be buying premade frosting at the store! See the recipe card below for a list of exact ingredient measurements.
How to Make Chocolate FrostingIf you have 5 minutes, then you have enough time to whip up this amazing homemade topping! It will make all the difference in your baked goods and everyone will be raving about it after they try it!
 Tips for the Best Chocolate ButtercreamButtercream is simple and easy to make! It tastes SOO good on just about anything. To make sure that this is as easy as possible for you, I have a few tips to make sure that your buttercream turns out perfectly! Read these through before you whip it up and I know that it will!
Simple VaritationsThere are a few things that you can do to make this chocolate buttercream recipe your own! Here are a few ideas for some variations that you can try to make it fit exactly what you need!
 Storing ButtercreamChocolate Buttercream is rich, sweet, and can be made ahead of time! I know that you are going to love this it so I recommend that you double the recipe! Make a big batch and freeze it to make sure that you always have some on hand. You won’t regret it!
More Chocolate Recipes to Love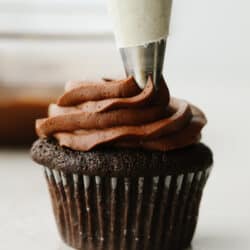 Chocolate Buttercream FrostingChocolate buttercream frosting is creamy, smooth, rich, and mouthwatering! The chocolate flavor is absolutely incredible and you will want to add it to every single treat that you bake up this fall! Servings 2 Cups Calories 1582kcal Ingredients
Instructions
NutritionCalories: 1582kcal | Carbohydrates: 193g | Protein: 6g | Fat: 96g | Saturated Fat: 60g | Polyunsaturated Fat: 4g | Monounsaturated Fat: 25g | Trans Fat: 4g | Cholesterol: 246mg | Sodium: 321mg | Potassium: 391mg | Fiber: 7g | Sugar: 178g | Vitamin A: 2873IU | Calcium: 82mg | Iron: 3mg |
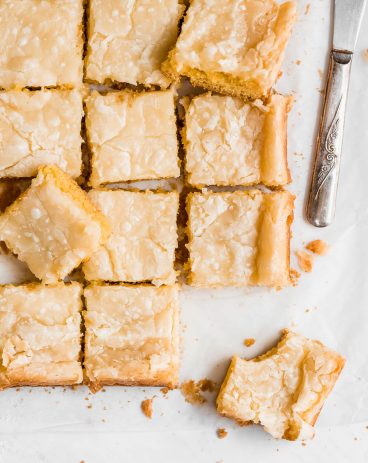
| Posted: 29 Aug 2021 05:00 PM PDT 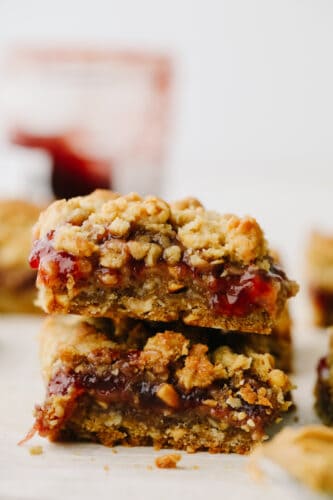 Peanut butter and jelly bars have all of the classic flavors you love in one tasty, golden brown piece of heaven. Your family is going to go crazy over these easy and delicious treats! Bars like these are the perfect solution for busy weeknights when the kids want a sweet treat. For more snacks with big flavor but little effort, give Nanaimo, snickerdoodle, and oatmeal chocolate chip bars a try!  Super Easy Peanut Butter and Jelly Bars RecipePeanut butter and jelly is one of those flavor combinations that I find myself coming back to time and time again. There is something about it that is both super nostalgic and just downright delicious. I mean, how can you go wrong with your favorite jam and the rich creaminess of peanut butter? The answer is, you can’t. But you can enhance it by taking those amazing flavors and putting them into a buttery, mouthwatering bar form. With each bite, you sink your teeth into layers of jammy goodness perfectly balanced by a crumbly, buttery crust and smooth, nutty peanut butter. And as if you needed any more convincing… The best part of this recipe is that you can customize the flavors to your liking. Not a fan of peanut butter? Throw in cashew, almond, or hazelnut butter instead! You can also add in any type of jam or jelly. I personally like using homemade jam for the best possible flavor. No matter what combination you choose, the result is sure to be the perfect balance of nutty and sweet! The other great part of this recipe is that it only takes a few minutes of prep. Simply mix together your crust and filling ingredients, bake, and go! It is perfect for all of my busy readers out there. It also has an all-pantry staple lineup, making your life easier! Delicious, easy, and inexpensive, this is the recipe to put on repeat. Ingredients for PB&J BarsI love recipes where I can just stroll into my kitchen and start cooking. Peanut butter and jelly bars are perfect for when you are craving a sweet treat but don’t want to go to the store! Exact measurements for each ingredient can be found below in the recipe card.
Making Peanut Butter and Jelly BarsMaking PB&J bars is as easy as it gets! Combined with the pantry staple ingredients, this is the kind of treat you can make any time! My kids love helping me layer the dough and jam. It’s a fun and quick activity that ends in a delicious dessert. There’s nothing better than that!
  Tips for Peanut Butter and Jelly BarsPeanut butter and jelly bars are a quick, easy dessert that delivers the same nostalgic taste of a PB&J but with a hint of nuttiness from the oats and sweet gooeyness. Here are a few tips to make your bars the BEST! They will be gobbled up in minutes!
How To Store Peanut Butter and Jelly BarsIf you manage to keep these tasty bars around longer than a few hours, they can be stored in an airtight container either on the counter or in the fridge. They are the perfect treats to store and take on the go! They can even be added to school lunches for a twist on a classic staple.
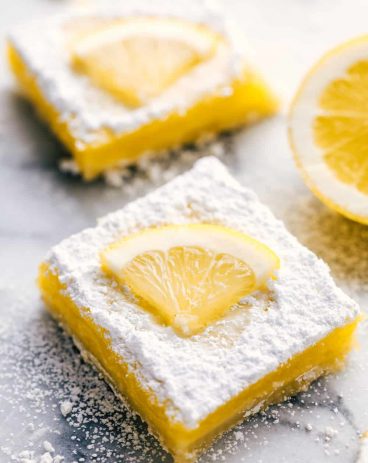
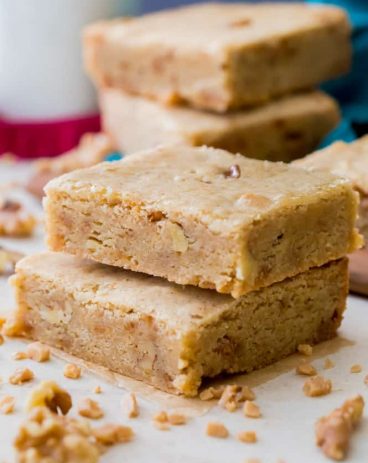
 More Quick and Easy Bar RecipesDesserts Neiman Marcus BarsDesserts Perfect Lemon BarsAmerican No Bake Butterscotch BarsDesserts Chewy Brown Butter Blondies Peanut Butter and Jelly BarsPeanut butter and jelly bars have all of the classic flavors you love in one tasty, golden brown piece of heaven. Your family is going to go crazy over these easy and delicious treats! Servings 9 Bars Calories 398kcal Ingredients
Instructions
NutritionCalories: 398kcal | Carbohydrates: 52g | Protein: 8g | Fat: 19g | Saturated Fat: 8g | Polyunsaturated Fat: 3g | Monounsaturated Fat: 6g | Trans Fat: 1g | Cholesterol: 48mg | Sodium: 337mg | Potassium: 209mg | Fiber: 3g | Sugar: 25g | Vitamin A: 345IU | Calcium: 41mg | Iron: 2mg |
| You are subscribed to email updates from The Recipe Critic. To stop receiving these emails, you may unsubscribe now. | Email delivery powered by Google |
| Google, 1600 Amphitheatre Parkway, Mountain View, CA 94043, United States | |


No comments:
Post a Comment