The Recipe Critic |
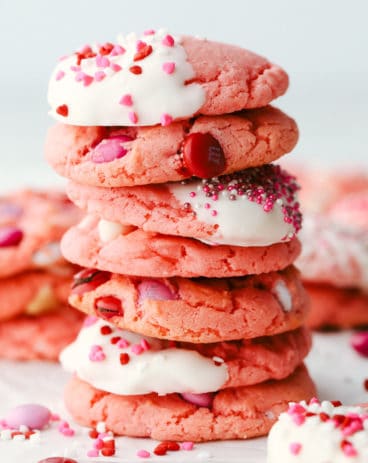
| Chocolate Covered Strawberries Posted: 03 Feb 2022 05:00 AM PST  Chocolate-covered strawberries are ripe, juicy strawberries that are dipped it into melted chocolate. Then, you garnish them with a variety of toppings to really make this treat for just about everyone! I love strawberries and I love dessert! Put them together and enjoy these strawberry desserts for any occasion like this strawberry pie, this amazing no-bake cheesecake, or these delicious cheesecake stuffed strawberries!  The Best Chocolate Covered StrawberriesChocolate-covered strawberries are seriously so good. I mean, I just can’t resist mixing some juicy fruit with rich chocolate covering the top. Every single bite is perfect and delicious. My mouth is watering just thinking about them! These chocolate-covered strawberries are the best for Valentine's Day! They are delicious, easy and not to mention the right color. This is a classic dessert that is primarily tied to the month of February, and I really just want these to be made for every single holiday. They are SO good! Plus, they can easily be switched up to add different toppings, so you can have a lot of different looks and flavors on your platter. Make these strawberries for Valentine's charcuterie board if you want to go the extra mile. Then there is really something for everyone! Ingredients to Make Chocolate Covered Strawberries:This dessert not only tastes fantastic but it also looks like a million bucks. Plus, you don’t need a lot of ingredients to make them! See the recipe card at the bottom of the post for exact measurements.
Let’s Dip Some Strawberries!This recipe is simple and easy! All you need is a few ingredients and a microwave to melt your chocolate. Once you try them out, then you will want to make these for every occasion!
What is the Best Type of Chocolate to Melt?I like to use chocolate chips or candy melts for chocolate-covered strawberries. That’s because they have a delicious flavor and melt into a smooth and creamy texture. You can find them in any baking aisle at your local grocery store. Your store should have different kinds of milk, dark and white chocolate chips. Try using specialty chocolate like Ghirardelli or Guittard for a little more chocolaty taste.  Tips for making Chocolate Covered Strawberries:
 VariationsYou can dip or drizzle these strawberries to your heart’s content! There are endless options out there on how you can make these strawberries just right for you and your guests. Here are a few ideas!
 How to Make These Ahead of TimeThese chocolate-covered strawberries are SO simple to make! Plus, they are a fun treat to have your kids help you make! They will love getting to dip them!
More Delicious Valentine Desserts to TryDesserts Heart-Shaped CakeDesserts The Best Sugar Cookie Recipe!Valentine's Day Sweetheart Valentine’s Buddies Chocolate Covered StrawberriesChocolate-covered strawberries are ripe, juicy strawberries that are dipped it into melted chocolate. Then, you garnish them with a variety of toppings to really make this treat for just about everyone! Servings 8 people Calories 197kcal Ingredients
Optional Toppings:
Instructions
NotesUpdated on February 3, 2022 Originally Posted on February 1, 2020 NutritionCalories: 197kcal | Carbohydrates: 19g | Protein: 2g | Fat: 13g | Saturated Fat: 7g | Cholesterol: 2mg | Sodium: 3mg | Potassium: 251mg | Fiber: 3g | Sugar: 13g | Vitamin A: 21IU | Vitamin C: 35mg | Calcium: 27mg | Iron: 2mg |
| Posted: 02 Feb 2022 05:00 PM PST 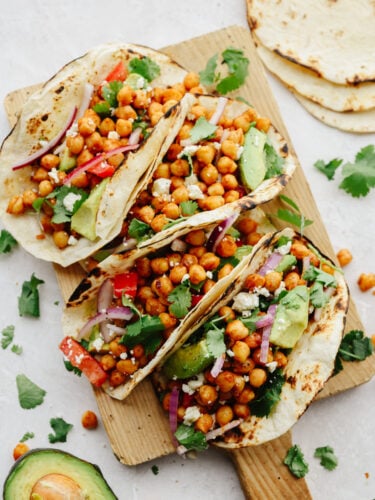 Chickpea tacos are a great way to get your daily protein and all the Tex-Mex flavors that you crave! These flavorful tacos are loaded with fresh veggies and topped off with a creamy cilantro drizzle! Also known as garbanzo beans, chickpeas are a versatile superfood that can be used in a bunch of different recipes! Crispy air fryer chickpeas, hummus, and Southwest chickpea salad are just a few tasty recipes to start you out with.  Easy and Fresh Chickpea Taco RecipeHealthy eating can be tough! My mind says salad, but my heart says tacos! These chickpea tacos are the answer we’ve all been looking for. It’s a way to curb that craving for street tacos while also giving your body the nutrition it needs. Each flour tortilla is topped with creamy avocado pieces, tomato, crunchy red onion, jalapenos, and cojita cheese. You can swap out any of these toppings to your liking! To top it all off, I add some homemade creamy cilantro ranch drizzle on top. It gives it the perfect punch of zesty, creamy flavor! It’s so amazing! You’re going to love adding this recipe to your meal rotations. If you haven’t already started incorporating chickpeas into your diet, you should definitely try! They have a super versatile, mild flavor that works in a lot of different cuisines. Not to mention, they’re loaded with protein and vitamins! In fact, in a 1-cup serving of cooked chickpeas, you’ll get nearly 15 grams of protein! The other great thing about these chickpea tacos is that they’re super quick to throw together. Tasty tacos bursting with flavor in less than 15 minutes! It’s the perfect lunch and will keep you full all day! What Are Chickpeas?Chickpeas, also known as garbanzo beans, are a legume! Legumes are edible seeds, and include things like beans, lentils, and peas. Chickpeas are a superfood loaded with vitamins, protein, and fiber. You’ve probably already had them in hummus! Ingredients for Chickpea Tacos4 easy ingredients is all it takes to make the foundation of these tacos. From there, you just add all of your favorite toppings! These chickpea tacos are the perfect lunch. So quick and easy! If you’re looking for measurements, they can all be found below!
Optional Toppings
 How to Make Chickpea TacosThis healthy lunch is as easy as it gets. Tasty tacos loaded with flavor in a pinch! Looking for more healthy, quick and easy recipes? You can find my full list here!
 Tips and VariationsHere are a few things I like to do to make my chickpea tacos as delicious as possible! The sky is the limit when it comes to fillings and sauces for these tacos. You’re going to love what you create!
 Storing LeftoversI like to store toppings and tortillas separately for best results! Here’s how to keep them on hand to make the most delicious lunch in a snap!
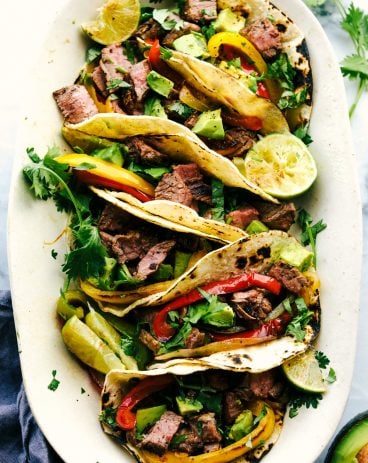
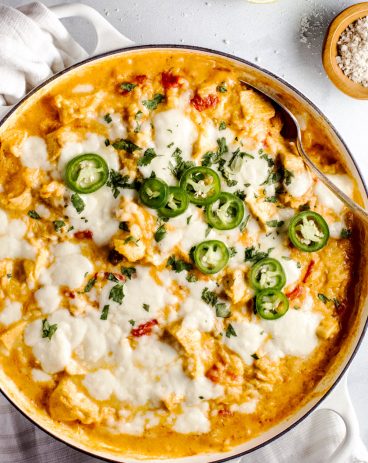
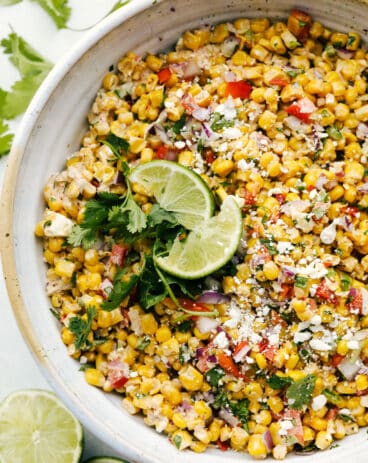
 More Great Tex-Mex RecipesSoup Recipes Mexican Chicken Corn ChowderDinner Amazing Steak FajitasDinner Queso Chicken SkilletSide Dishes Amazing Mexican Corn Salad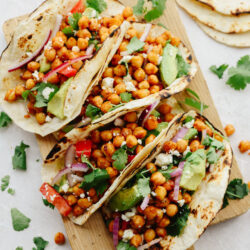 Chickpea TacosChickpea tacos are a great way to get your daily protein and all the Tex-Mex flavors that you crave! These flavorful tacos are loaded with fresh veggies and topped off with a creamy cilantro drizzle! Servings 4 people Calories 124kcal Ingredients
Optional Toppings
Instructions
To assemble the tacos:
NutritionCalories: 124kcal | Carbohydrates: 16g | Protein: 2g | Fat: 6g | Saturated Fat: 1g | Polyunsaturated Fat: 1g | Monounsaturated Fat: 4g | Sodium: 307mg | Potassium: 47mg | Fiber: 1g | Sugar: 2g | Vitamin A: 117IU | Vitamin C: 1mg | Calcium: 32mg | Iron: 1mg |


| You are subscribed to email updates from The Recipe Critic. To stop receiving these emails, you may unsubscribe now. | Email delivery powered by Google |
| Google, 1600 Amphitheatre Parkway, Mountain View, CA 94043, United States | |


No comments:
Post a Comment