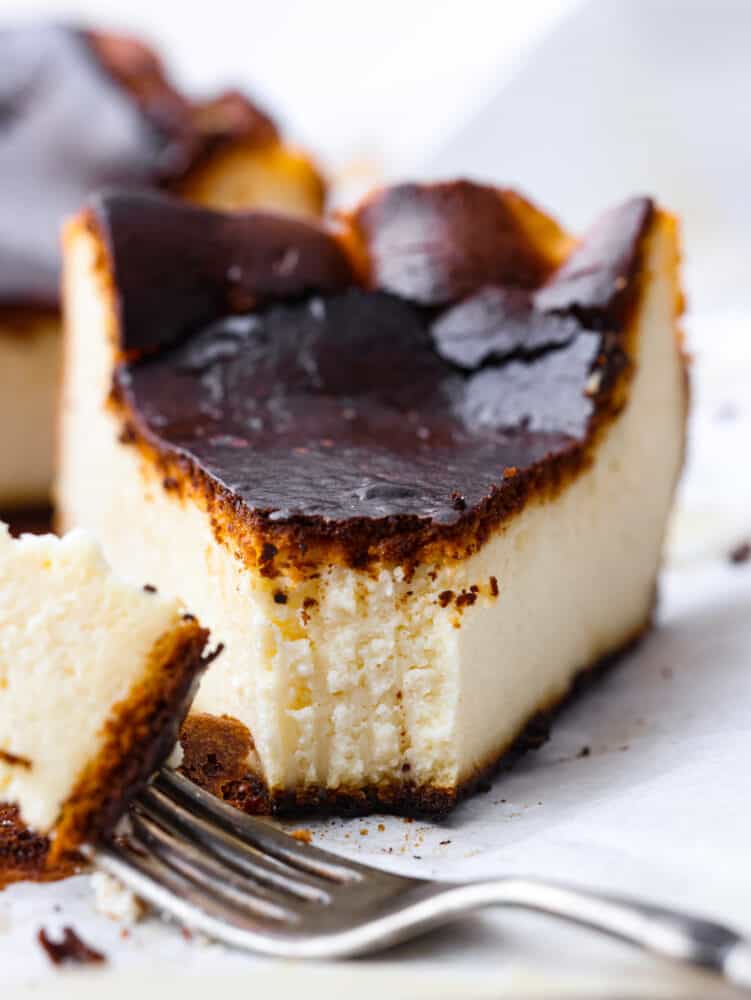
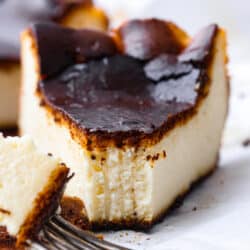
Try not to judge Basque cheesecake by its burnt outer layer… It’s meant to be caramelized to perfection! You will be blown away by the rich and creamy inside of this unique cheesecake.
Cream cheese makes the most decadent desserts. Using cream cheese in cheesecakes is a given, but have you tried it in cookies? I also love cream cheese in fruit dip and brownies. I know that any dessert that involves cream cheese is going to be good!
What is Basque Cheesecake?
Known for its “burnt” top, the look of Basque cheesecake gets people talking. The ingredients used to make Basque cheesecake are the same ingredients to make regular cheesecake except for one. This cheesecake has the addition of flour to help prevent the protein in the egg from thickening too much. As a result, the texture of the basque cheesecake isn’t dense like normal cheesecake. Instead, the filling is much smoother and creamier.
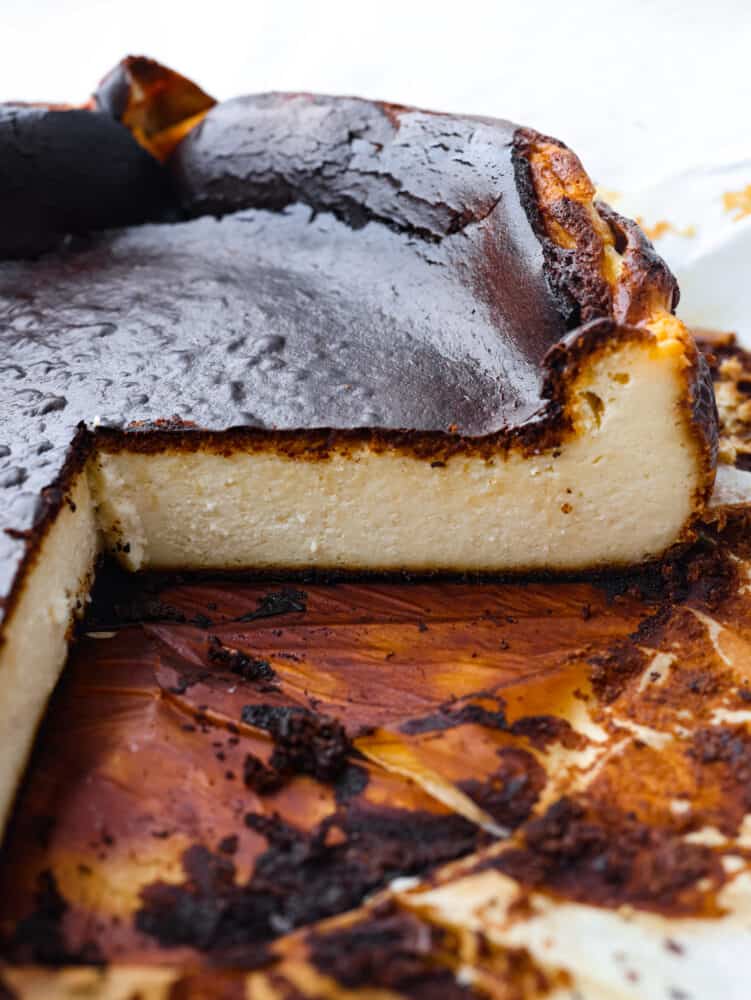
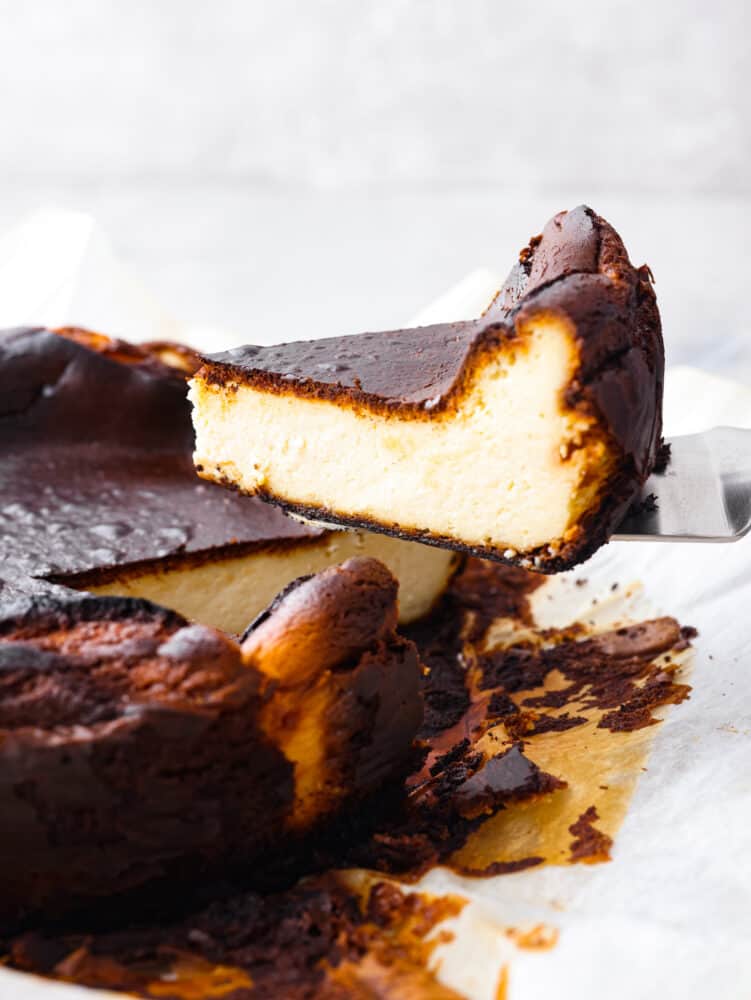
Once you cut through that “burnt” layer, your knife will sink into silky, creamy goodness. People often ask me what it tastes like, and I always say it tastes similar to creme brûlée. Cheesecake is one of my all-time favorite desserts and I love all the different flavor combinations you can use when you make one! And if you really want to get creative, instead of making a traditional cheesecake, make individual mini cheesecakes, or even cheesecake bars. All of them are major crowd pleasers!
What Ingredients Make Basque Cheesecake?
Making this cheesecake is a MUST and you will see exactly why as soon as you take a bite of its creamy deliciousness. Plus, you probably already have most of the ingredients on hand. Check out the recipe card at the bottom of the post for exact measurements.
Cream Cheese: Make sure that you let your cream cheese soften to room temperature before you use it. That way, it will mix in with no lumps!
Granulated Sugar: The sweetness from granulated sugar is best for cheesecake.
Large Eggs: Room temperature eggs helps ingredients mix more evenly and helps add volume to baked goods. It’s a science!
Heavy Cream: Anything with the word cream guarantees a creamy texture!
Flour: All purpose flour works great in this recipe. This ingredient is the trick to this cheesecake.
Salt: Salt always helps balance the sweetness in baked goods.
Vanilla Extract: A good quality vanilla extract makes ALL the difference. I love a good Mexican vanilla.
How To Make Basque Cheesecake
There is no reason to not make this cheesecake. It’s one of the easiest cheesecakes you will ever make. You don’t even need to make it using a water bath. It’s so easy and is the perfect dessert to make ahead of time!
Prepare:
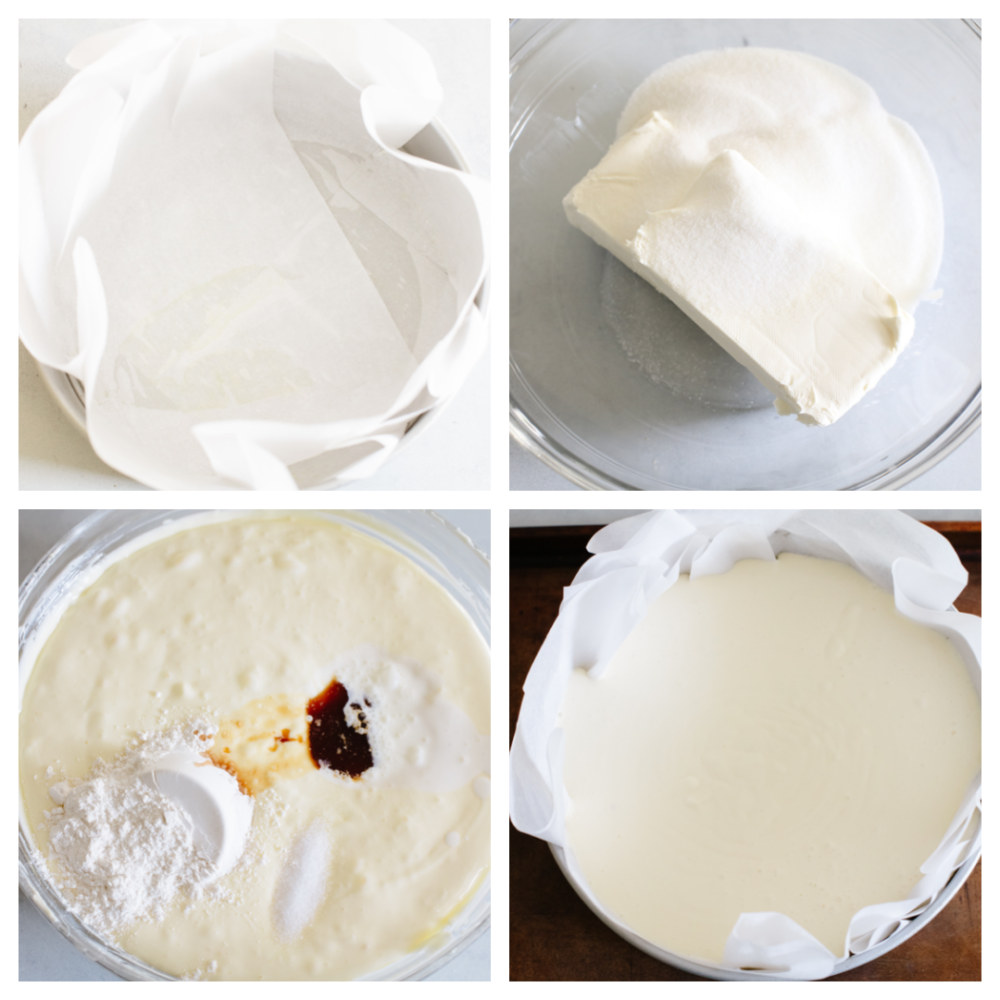
Prepare the pan: Preheat the oven to 400° and make sure there is a rack right in the center of the oven. Line a 9-inch springform pan with 2 sheets of parchment paper so they overlap in the middle and leave about a 2-inch overhang all around the rim of the pan. You will have to crease and pleat the parchment to get it to fit, but that will help give this cheesecake it's signature edge. Place the prepared pan on a baking sheet and set aside.
Beat cream cheese and sugar: In a large bowl, add the cream cheese and sugar. Beat with the paddle attachment on a stand mixer or a hand mixer on medium speed. Scrape down the sides and bottom of the bowl and mix again until smooth and no lumps of cream cheese remain.
Add eggs: Add the eggs one at a time. Incorporate each one before adding in the next one. Scrape down the sides and bottom of the bowl again and mix for 10-15 seconds longer.
Mix: Add the flour, cream, salt, and vanilla and mix on medium-low until fully combined.
Bake and Chill:
Bake: Pour the batter into the prepared pan. Bake for 60-65 minutes, until the top is a deep brown, and the center of the Basque cheesecake is still jiggly. It will puff up significantly in the center, but it will fall as it cools.
Chill: Allow to chill for about 30 minutes before removing from the pan. Let cool until room temperature on a cooling rack. Transfer to the fridge and chill uncovered for at least 4 hours before serving.
Wait: Let the cheesecake sit at room temperature for at least 30 minutes before peeling off the parchment before serving.
Basque Cheesecake vs. Regular Cheesecake
Basque cheesecake originated in the Basque region between the border of France and Spain. You’re definitely going to want to make this version of cheesecakes soon as possible!
No Crust: Unlike regular cheesecake, Basque cheesecake does NOT have a crust.
Addition of flour: Flour mixed with the eggs helps give Basque cheesecake its creamy and smooth texture. Regular cheesecake is much denser and thick.
Temperature: Regular cheesecake is baked at a low temperature you make it with a water bath. Basque cheesecake is baked fast at a high temperature without a water bath.
Burnt Top: This is the signature look of a Basque cheesecake! The top is burnt and caramelized and is SO delicious. Regular cheesecake does NOT have a burnt top, but instead has cracks on the top so that you know when it’s done.
Storing Leftover Cheesecake
Basque cheesecake is so rich and creamy that you might not be able to eat the whole cheesecake in one sitting! That’s okay because this cheesecake can be saved to be enjoyed later!
In the Refrigerator: Once your cheesecake has cooled to room temperature after baking the wrap it tightly with plastic or put it in an airtight container. Place it in your fridge and it will last for up to 3 days.
Try More Cheesecake Flavors Recipes
NewYork style cheesecake isn’t the only cheesecake flavor to make. There are endless possibilities when it comes to flavor options. You’re definitely going to want to try some of these!
Try not to judge Basque cheesecake by its burnt outer layer… It's meant to be caramelized to perfection! You will be blown away by the rich and creamy inside of this unique cheesecake.
Course Dessert
Cuisine Spanish
Keyword Basque Cheesecake
Prep Time 20minutes
Cook Time 1hour5minutes
Chill Time 4hours
Total Time 5hours25minutes
Servings 10People
Calories 646kcal
Author Alyssa Rivers
Ingredients
2PoundsCream CheeseRoom Temperature
1 ½CupsGranulated Sugar
6Large eggsRoom Temperature
2CupsHeavy Cream
¼CupAll-Purpose Flour
1TeaspoonSalt
1 ½TeaspoonsVanilla Extract
Instructions
Preheat the oven to 400° and make sure there is a rack right in the center of the oven. Line a 9-inch springform pan with 2 sheets of parchment paper so they overlap in the middle and leave about a 2-inch overhang all around the rim of the pan. You will have to crease and pleat the parchment to get it to fit, but that will help give this cheesecake its signature edge. Place the prepared pan on a baking sheet and set it aside.
In a large bowl, add the cream cheese and sugar. Beat with the paddle attachment on a stand mixer or a hand mixer on medium speed. Scrape down the sides and bottom of the bowl and mix again until smooth and no lumps of cream cheese remain.
Add the eggs one at a time and beat until each is incorporated before adding the next. Scrape down the sides and bottom of the bowl again and mix for 10-15 seconds longer. Add the flour, cream, salt, and vanilla and mix on medium-low until fully combined.
Pour the batter into the prepared pan. Bake for 60-65 minutes, until the top is a deep brown, and the center of the cheesecake is still jiggly. It will puff up significantly in the center, but it will fall as it cools.
Allow to chill for about 30 minutes before removing from the pan. Let cool until room temperature on a cooling rack. Transfer to the fridge and chill uncovered for at least 4 hours before serving.
Let the cheesecake sit at room temperature for at least 30 minutes before peeling off the parchment before serving.
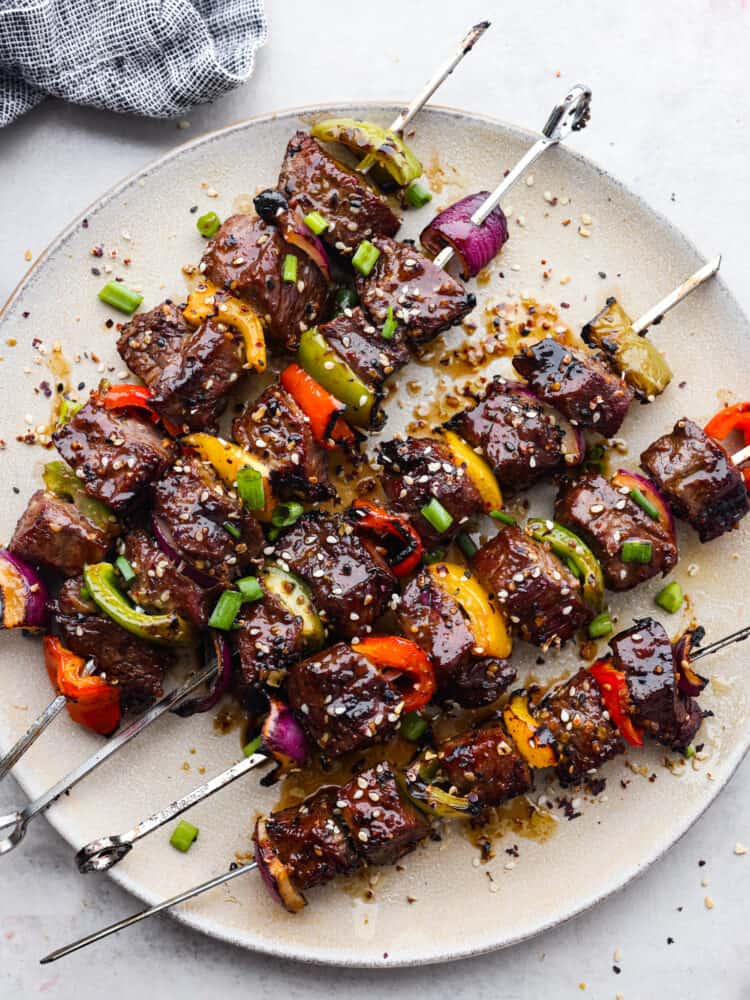
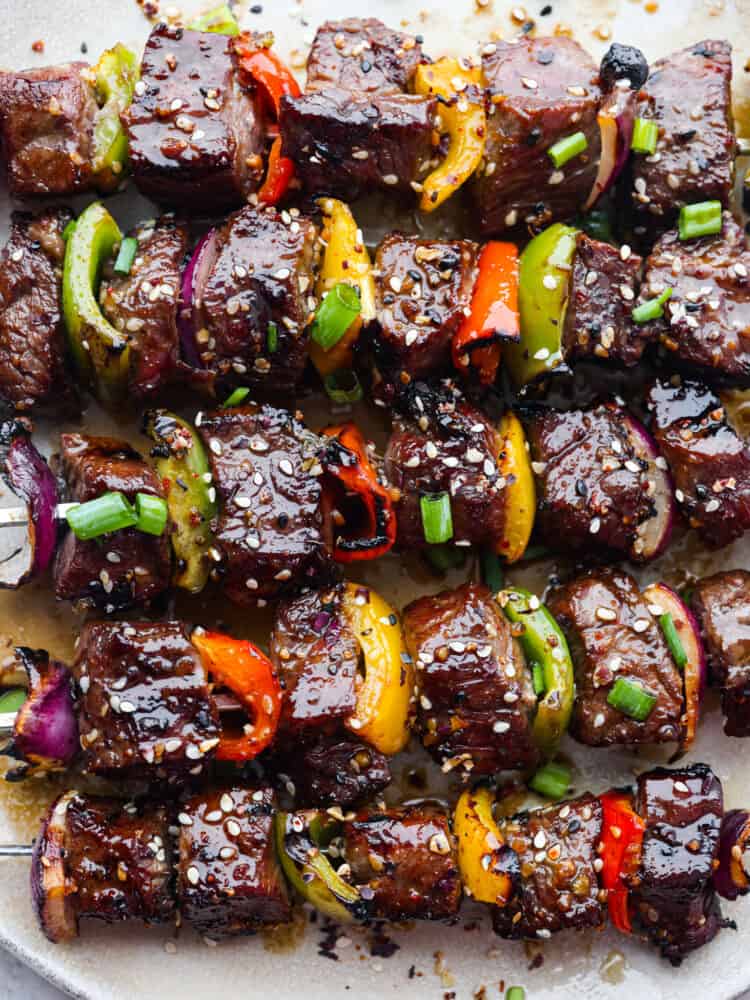
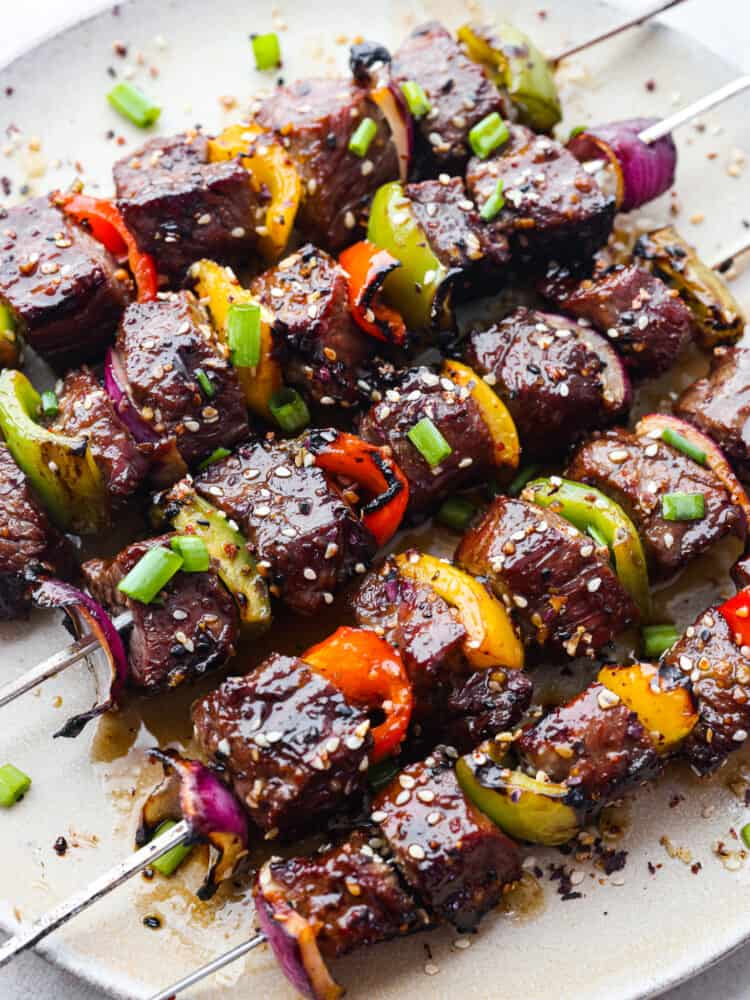
Grilled Asian Garlic Steak Skewers are marinated in a delicious Asian garlic sesame sauce and grilled to tender and juicy perfection. Perfect for any BBQ or gathering!
Great grill meals for outdoor entertaining are a must at my house. When I am in the mood for steak with delicious Asian flavors, I also love Grilled Flank Steak with Asian Marinade because it is unbelievably good!
A Reader’s Review
Excellent! Juicy and perfectly seasoned!
-Chloe
Grilled Asian Garlic Steak Skewers
Ok, ok I admit that I have a bit of an obsession with Asian foods. But this recipe was FANTASTIC! Anything that involves soy sauce, garlic, and sesame oil is an instant favorite in my book. This recipe was simple to put together and the flavor is out of this world good.
I am pretty picky when it comes to steak. It has to be tender and melt in your mouth. I just can’t do the tough and chewy but it takes cooking the steak just right. Also buying a high-quality steak helps too you just can’t overcook it. Tenderloin can be a little expensive but it will get the best results. A chuck roast is a little less expensive but can tend to be a little tough and chewy I have found. A sirloin tip is a good balance between the two and will deliver amazing results and a great kabab.
What do I need to Make Garlic Steak Skewers?
Top sirloin steak: Lean and fits into a balanced diet, and it’s budget friendly. (If you have room in your budget, filet is a great option as well!)
Red onion: Mild flavor and great color!
Soy sauce: It brings out meat’s natural flavors and also tenderizes it.
Garlic cloves: minced
Sesame oil:Nutty and toasty flavor in the marinade.
Olive Oil: Mix together with sesame oil and soy sauce for marinade.
Sugar: Adds sweetness
Grated ginger: Keep ginger root in your freezer and grate some whenever you need it.
Sesame seeds: Sesame flavor combined with the ginger is trademark Asian flavor!
Bell Peppers: I love using yellow green and orange because of their taste and color!
Green onions: For garnish
Skewers: If using wooden, soak 30 minutes ahead of time in water.
How to Make Asian Garlic Steak Skewers:
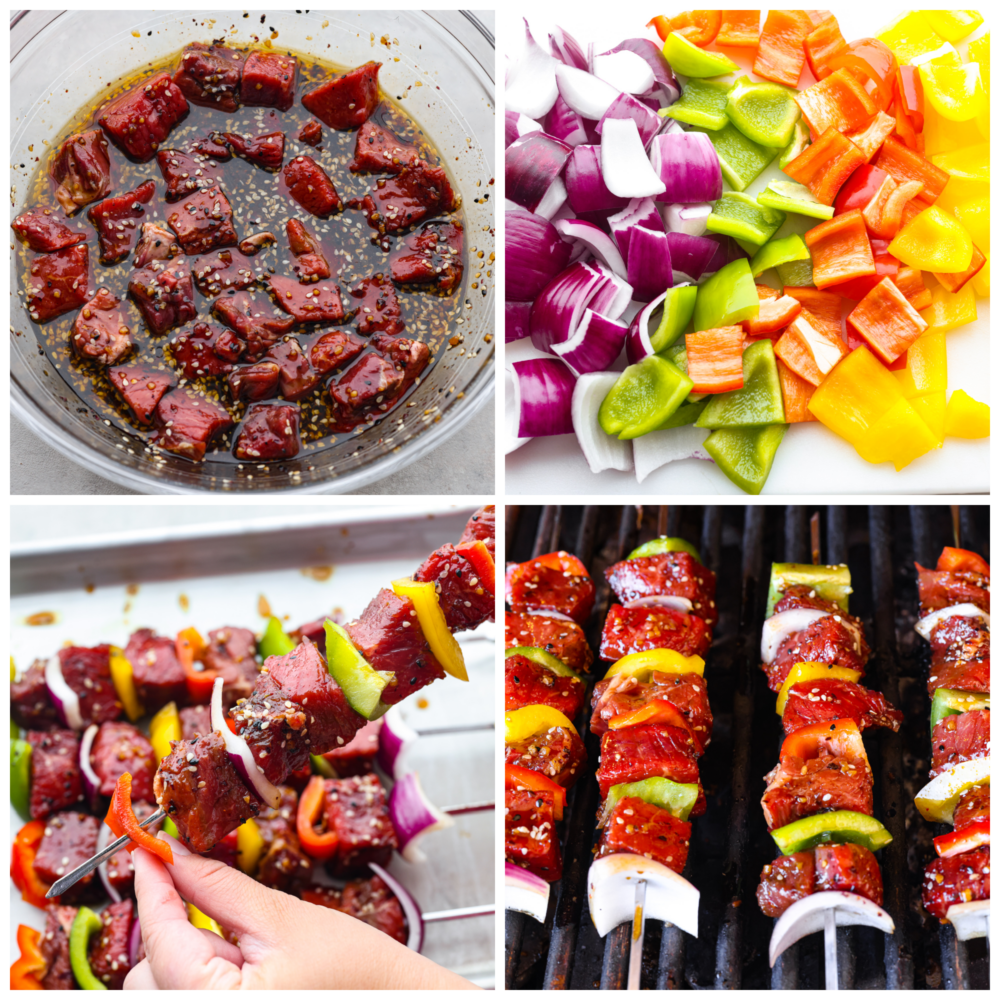
Cut steak: Cut steak into one inch cubes. Cut the red onion into large chunks and set aside.
Wisk sauce: In a large bowl whisk together soy sauce, garlic, sesame oil, vegetable oil, sugar, ginger and sesame seeds. Add the steak and toss to coat in marinade. Marinate for 3 hours or overnight.
Make Skewers: Preheat the grill to medium high heat while you thread the meat and the red onion onto the skewers.
Grill: Cook for 8-10 minutes until the meat is done to desired liking.
How do you cook with wooden skewers?
While the meat for your grilled Asian steak skewers is marinating, soak the wooden skewers in water for at least 30 minutes. The temperature of the water does not matter. If you find yourself using skewers in your cooking a lot, then I would suggest pre-soaking the skewers. Soak a bunch of them overnight, drain, wrap in plastic, and freeze. Then you will have some ready whenever you need them.
What temperature do you grill kabobs?
On a grill: Cook your kabob directly over the flame or coals. Keep the lid open since you are cooking on direct heat. Grill on medium-high heat (about 375 degrees) for 8-10 minutes. Rotate approximately every 2-3 minutes until all sides are browned.
In the oven: Preheat the oven to 450 degrees Fahrenheit. A higher temperature is necessary since the kabob will not be on direct heat.
What to Serve with Kabobs
I love kabobs, but stayed away from serving them for the longest time because I was not sure what to pair them with. After trying many different things, I found out they are really good with anything! Here are some things I have put together with them and loved.
In a large bowl whisk together soy sauce, garlic, sesame oil, olive oil, sugar, ginger and sesame seeds. Add the steak and toss to coat in marinade. Marinate for 3 hours or overnight.
Preheat the grill to medium high heat. Thread the meat, red onion, and bell pepper onto the skewers. Grill for 8-10 minutes until the meat is done to desired liking.
Notes
Updated on June 27, 2022Originally Posted on July 1, 2016





No comments:
Post a Comment